How to install Netrunner OS
Hi all
This is my first blog in English. Please remember English is not my primary language.
I have decided to install Netrunner OS on my PC, and in that process share my experience to new Linux users.
Hope some of you will benefit from my work.
My computer skills are as a user – and I have used Linux since Ubuntu 8.04 came out in 2004.
I have used a great amount of different Linux distros, but most Gnome and XFCE based.
I therefore decided it was time to try my hands with KDE when I run a live version of Netrunner OS – more precise the Netrunner Rolling.
A rolling release is a system where new features, updates ect. is coming when they are ready, opposed to releases coming on fixed dates.
On my PC there were running a dual boot with Windows and Linux Mint.
To install the Netrunner OS, I downloaded the ISO-image from the Netrunner home page. To be found here.
I used Brasero (A Linux burning program) to burn the ISO to a DVD.
Then I inserted the DVD in my pc and booted up.
After a long time, the Netrunner system was up and running in live mode (test mode without leaving anything on the PC).
But I choose to press install.
And the installation began.
The installation of a Linux system is very easy and straight forward. Only place I had to stop and think was where the drives has to be defined,
Because I wanted to keep my PC in dual boot with Windows and Netrunner.
If you do not have experience with this before, then I advise you to seek help with a friend or Google about how to partitioning a hard drive.
I just choose to erase my Linux Mint drive and make this my drive for Netrunner. The drive with the “/” is where the new system goes that you are installing.
And then I just waited.
Please note, that during the install you has to make a user. In Linux, you are advice to make the first user the Root-user. The Root-user is the same as the user with admin rights.
After installation, you then add the number of users you need on your PC. It is important not to use the same password as the Root-user for security reasons.
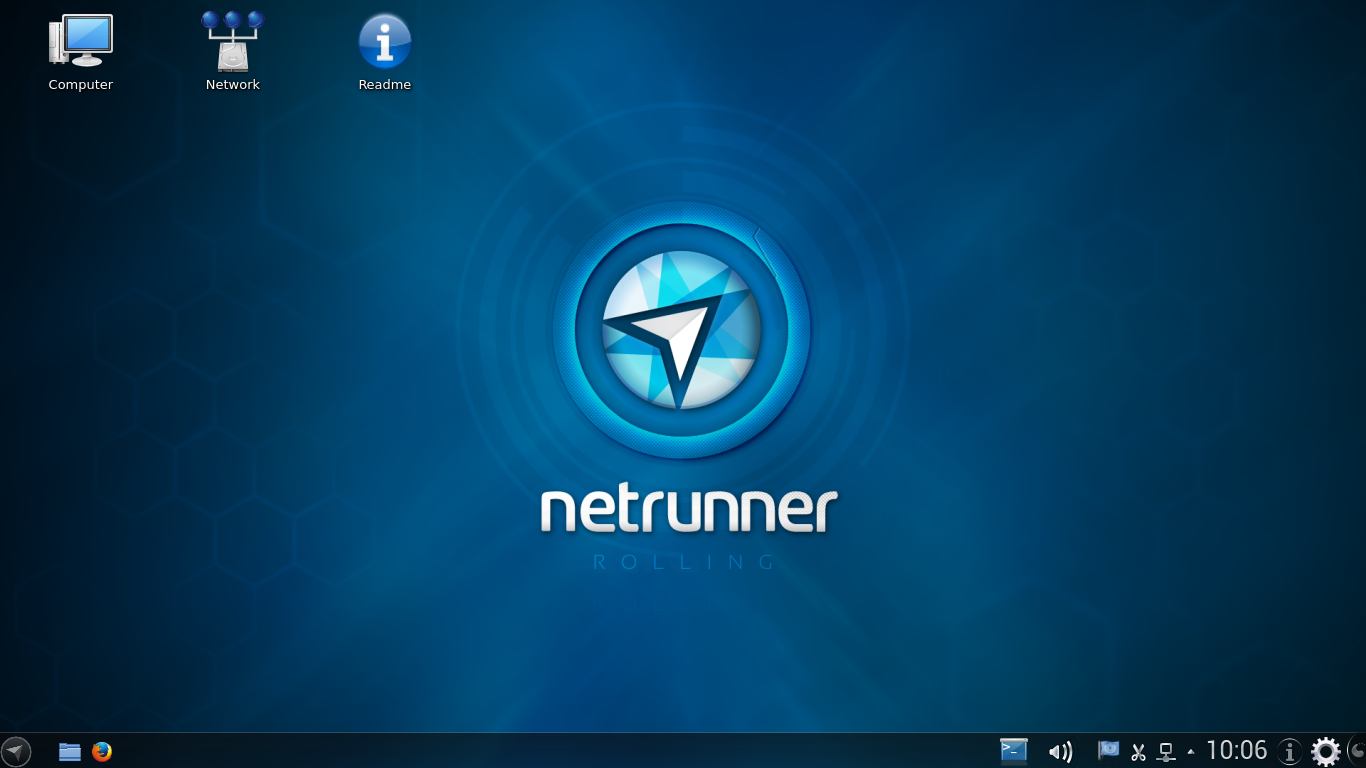
After some time, I could reboot (removing the DVD) and my new system looked like this.